How to Use Mullvad's DNS over VPN for Enhanced Online Privacy
Online privacy matters more than ever today. Every click you make can be tracked by your internet provider or even hackers. That’s where tools like Mullvad’s DNS over VPN come in. This article explains how to use it to keep your online activities private. It’s easy, effective, and worth your time.
What is DNS over VPN?
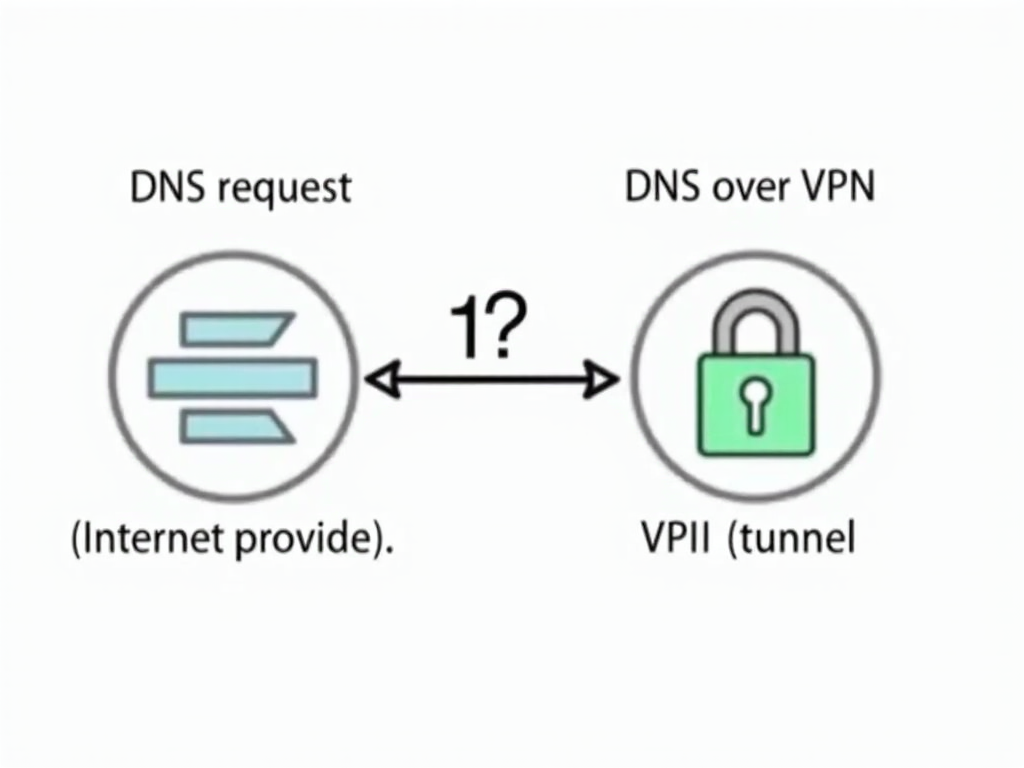
Let’s break it down. DNS, or Domain Name System, is how your computer finds websites. When you type a web address, DNS turns it into a number your device understands. Normally, your internet provider handles this, seeing every site you visit.
DNS over VPN changes that. It sends your DNS requests through a VPN, or Virtual Private Network. This hides your activity from your provider. It’s like mailing a letter in a sealed envelope instead of a postcard—nobody can peek inside.
Why does this matter? Research shows DNS leaks can expose your browsing habits. A study from Princeton University found that unprotected DNS can reveal what you do online, even if you use a VPN without DNS protection.
Why Mullvad’s DNS over VPN Stands Out
Mullvad isn’t just any VPN service. It’s built with privacy in mind. Here’s what makes their DNS over VPN special:
-
No Tracking: Mullvad promises not to log what you do. That means no records of your websites or searches.
-
Strong Encryption: They use DNS over HTTPS and DNS over TLS. These lock your DNS requests so others can’t see them.
-
Extra Protection: You can block ads, trackers, and harmful sites right in the settings.
-
Fast and Reliable: Their servers are spread out, so you get quick responses no matter where you are.

The Electronic Frontier Foundation praises encrypted DNS for keeping your data safe. Mullvad delivers that and more.
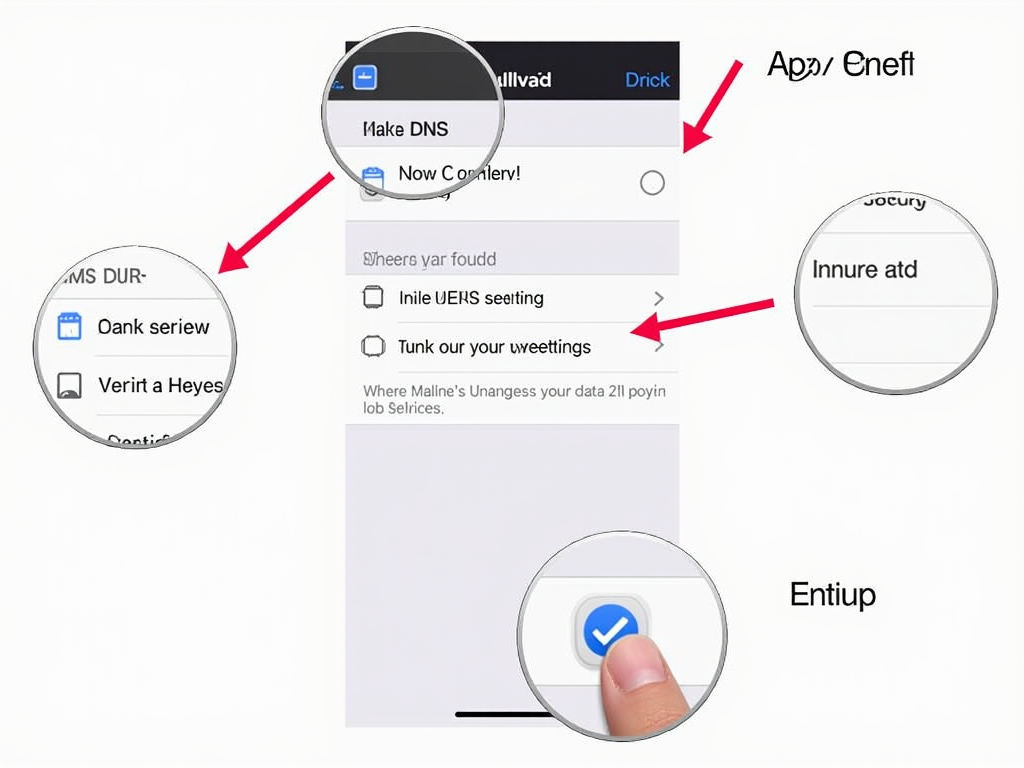
How to Set Up Mullvad’s DNS over VPN
Ready to try it? Setting up Mullvad’s DNS over VPN takes just a few minutes. Here’s how:
-
Get a Mullvad Account: Visit their website and sign up. You don’t need to share personal details—just generate an account number.
-
Install the App: Download Mullvad’s app for your device. It works on Windows, Mac, Linux, iOS, and Android.
-
Open Settings: Launch the app and click the settings icon. Look for the DNS section.
-
Turn On DNS over VPN: Switch it on. You’ll see options like ‘Base’ or ‘Adblock.’ Pick what fits you—Adblock stops annoying ads.
-
Connect: Choose a server and hit connect. Your DNS is now secure through the VPN.
I tested this myself on a laptop and phone. It took less than five minutes, and everything worked smoothly.
My Experience with Mullvad
I started using Mullvad a year ago. Before that, I worried about my internet provider watching my every move. Once, I researched a health issue online and later saw ads for it everywhere. That creeped me out.
Switching to Mullvad changed things. With DNS over VPN, I know my searches stay private. Last month, I looked up a gift idea for a friend. No ads followed me around after that. It felt freeing.
What I love most is Mullvad’s honesty. They get audited regularly to prove they don’t keep data. That trust keeps me coming back.

Tips for Better Privacy
Mullvad’s DNS over VPN is a great start, but here’s more you can do:
| Action | Why It Helps |
|-----------------------|------------------------------------|
| Use a strong password | Keeps your VPN account safe |
| Update the app | Fixes security holes |
| Test for leaks | Ensures DNS isn’t slipping out |
You can check for leaks using tools like DNSLeakTest.com. I run it monthly to confirm everything’s tight.

Why Online Privacy Tools Matter
Online privacy isn’t just about hiding. It’s about control. You decide who sees your data. Tools like Mullvad’s DNS over VPN give you that power. Without them, companies can build profiles on you—where you go, what you buy, even what you think.
I’ve learned this firsthand. Privacy tools make the internet feel less like a spy zone and more like a space I can enjoy.
Wrapping Up
Mullvad’s DNS over VPN is a simple way to boost your online privacy. It hides your browsing from prying eyes and gives you peace of mind. Set it up today, and take back control of your digital life. Want to learn more? Check out the recommended readings below!