Proton Mail Setup Guide for Beginners: A Step-by-Step Tutorial
Looking for a secure email service that’s easy to use? Proton Mail is a top choice among online privacy tools. This guide walks you through setting up Proton Mail, step by step. It’s perfect for beginners who want better online privacy without the hassle. Let’s get started!
Step 1: Create Your Proton Mail Account
Start by visiting the Proton Mail website. Hit the 'Sign Up' button—it’s hard to miss! You’ll see plan options. The free plan works great for beginners, offering 500 MB of storage and 150 emails daily. I’ve used it myself, and it’s plenty for casual use.
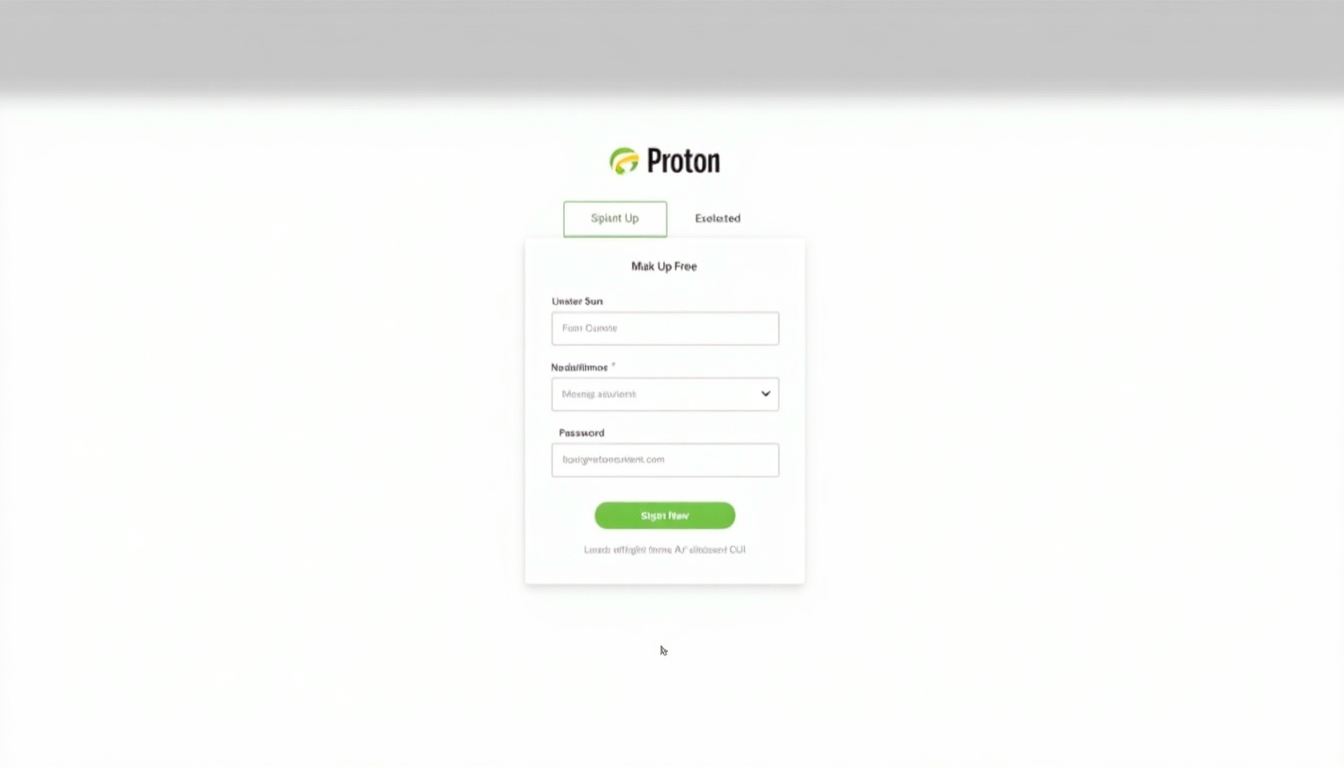
Pick a username that’s unique—Proton Mail will let you know if it’s taken. Next, set a strong password. I recommend mixing letters, numbers, and symbols. After that, enter a recovery email. Proton Mail sends a verification code there. Type it in, and you’re almost done!
Step 2: Get to Know Your Inbox
Once verified, you’ll land in your Proton Mail inbox. It’s super clean and simple. On the left, there’s a menu with Inbox, Sent, and Trash. The middle shows your emails. At the top, you’ve got buttons to compose or search. It’s intuitive—I got the hang of it in minutes.
Here’s a tip: play around with the layout. Click an email to read it or hit 'Compose' to send one. I once fumbled finding the send button—it’s the blue one at the bottom of the email window. Simple, right? This setup makes managing emails a breeze.
Step 3: Explore the Interface
Proton Mail’s design keeps things easy. The toolbar up top lets you filter emails or mark them as read. The sidebar helps you jump between folders. I love how uncluttered it feels compared to other email services—perfect for staying focused.
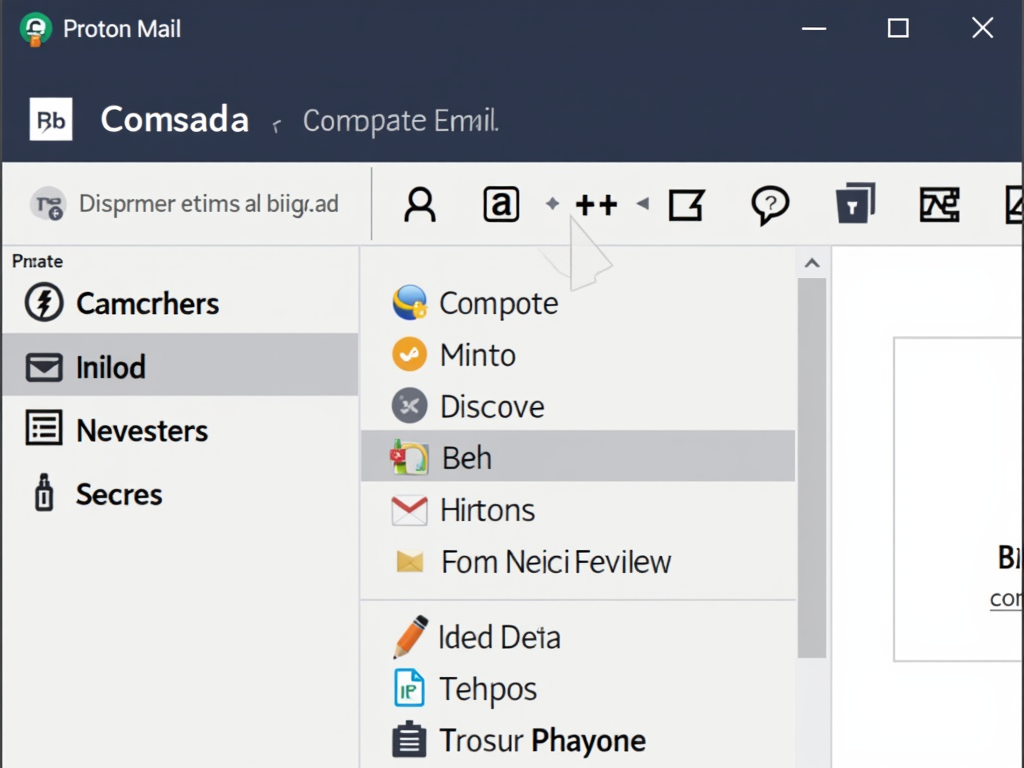
Want to personalize it? Head to the settings. Click the gear icon in the top right. You can tweak your display name or signature. I added a quick 'Best, [My Name]' signature—it saves time on every email. Little touches like that make it your own.
Step 4: Boost Security with Settings
Security is why many choose Proton Mail. In settings, find the 'Security' tab. Turn on two-factor authentication (2FA). It adds a code from your phone to log in—extra peace of mind. I set it up with my authenticator app in under five minutes.
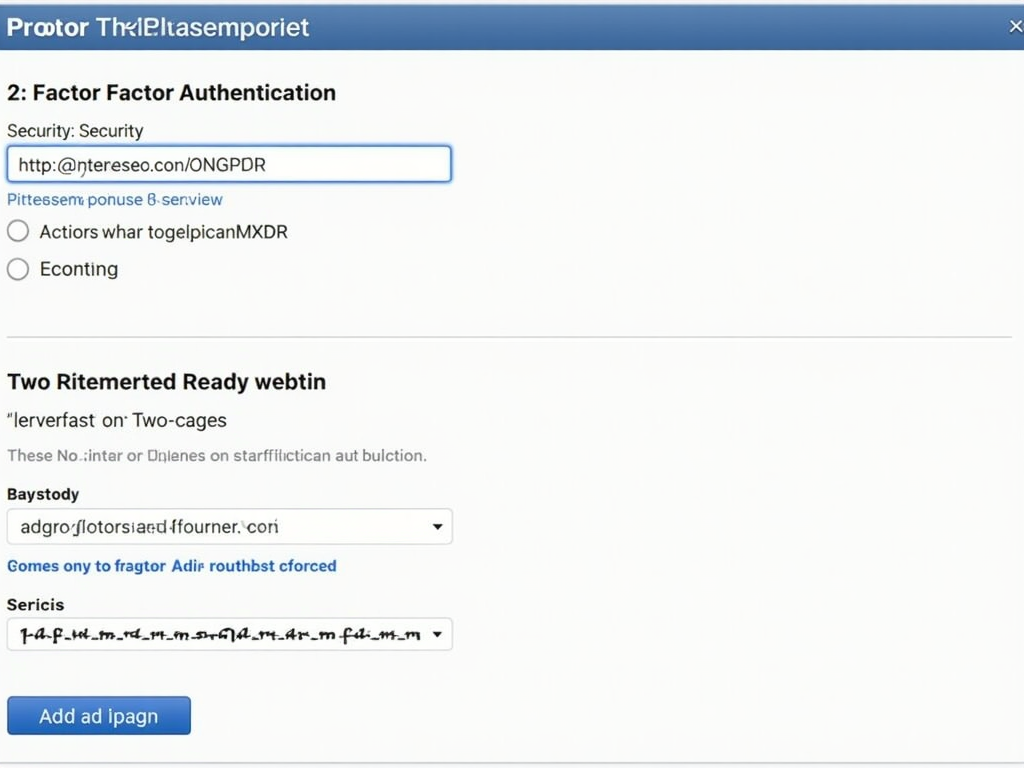
Proton Mail encrypts your emails automatically, so you don’t need to worry about that. But 2FA? That’s on you to enable. It’s a small step that makes a big difference. Check Proton Mail’s security page for more on how they protect you.
Step 5: Manage Your Emails Like a Pro
Start sending emails! Hit 'Compose,' type your message, and send it off. To organize, create folders—click 'Settings,' then 'Folders and Labels.' I made one for work emails, and it keeps my inbox tidy. You can also star important messages.
Here’s a handy list for managing emails: - Reply quickly: Use the reply button under each email. - Search fast: Type keywords in the search bar. - Delete junk: Select emails and hit the trash icon. I’ve found these tricks cut my email time in half!
Extra Tips for Beginners
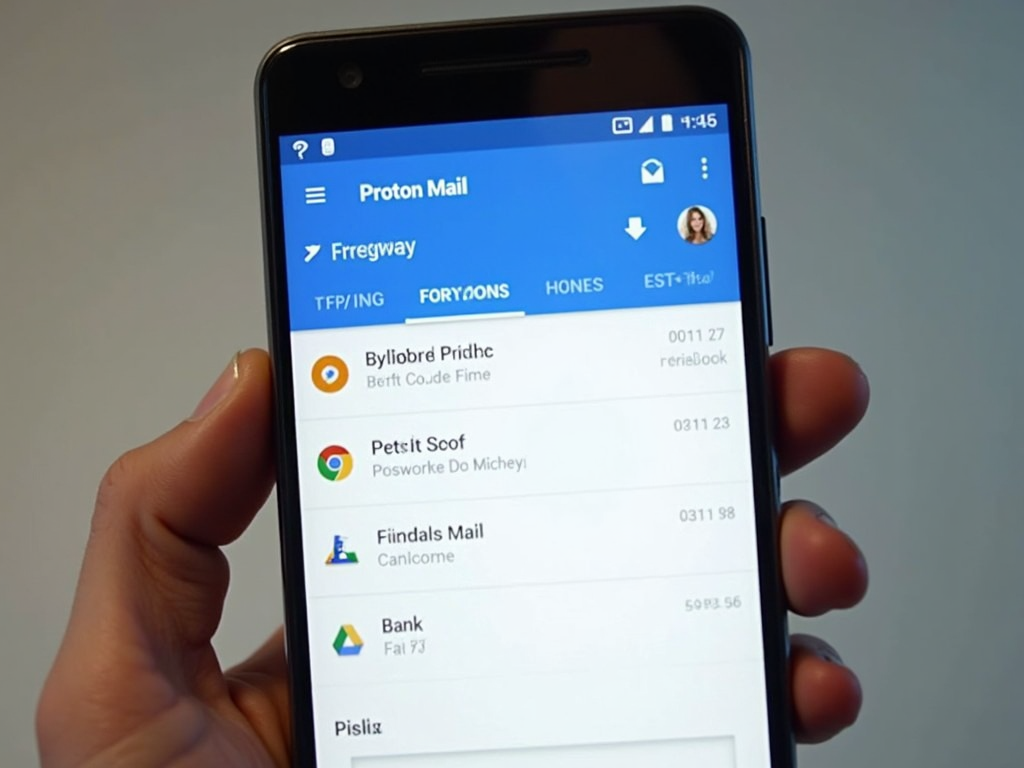
Don’t skip the mobile app—it syncs perfectly. I installed it on my phone and love replying on the go. Also, explore Proton Mail’s blog for privacy tips. It’s packed with advice on staying safe online, which hooked me on their mission.
One hiccup I hit: importing old emails isn’t free. You’ll need Proton Mail Bridge with a paid plan for that. No big deal for starting fresh, though. The free version still shines for basic needs—trust me, I’ve relied on it for months.
Summary: Your Path to Online Privacy
You’ve now got Proton Mail up and running! This Proton Mail setup guide for beginners has covered signing up, exploring the inbox, tweaking settings, and managing emails. It’s a simple way to boost your online privacy. Keep exploring its features—you’ll love the control it gives you.