How to Configure IVPN on Android for Maximum Privacy: A Comprehensive Guide
In today's digital age, online privacy is more important than ever. With cyber threats and data breaches on the rise, protecting your personal information has become a necessity. One effective way to safeguard your online privacy is by using a Virtual Private Network (VPN). IVPN is a popular choice among privacy-conscious users due to its robust features and commitment to user privacy. In this article, we'll guide you through the process of configuring IVPN on your Android device to ensure maximum privacy.
Why Choose IVPN for Android?
IVPN stands out among other VPN services for several reasons:
- No-Logs Policy: IVPN does not log any user activity, ensuring your online activities remain private.
- Strong Encryption: It uses AES-256 encryption, one of the strongest available, to protect your data.
- Kill Switch: This feature prevents data leaks by disconnecting your internet if the VPN connection drops.
- Multi-Hop Connections: IVPN allows you to route your traffic through multiple servers for added security.
These features make IVPN an excellent choice for anyone looking to enhance their online privacy.
Step-by-Step Guide to Configuring IVPN on Android
Follow these steps to set up IVPN on your Android device:
- Download and Install the IVPN App
- Open the Google Play Store on your Android device.
- Search for "IVPN" and select the official app.
-
Tap "Install" to download and install the app.
-
Create an Account or Log In
- If you're new to IVPN, create an account by following the on-screen instructions.
-
If you already have an account, log in using your credentials.
-
Configure VPN Settings
- Open the IVPN app and navigate to the settings menu.
- Enable the "Always-on VPN" feature to ensure your device always connects through the VPN.
- Activate the "Kill Switch" to prevent data leaks.
-
Choose your preferred protocol (e.g., WireGuard for better performance).
-
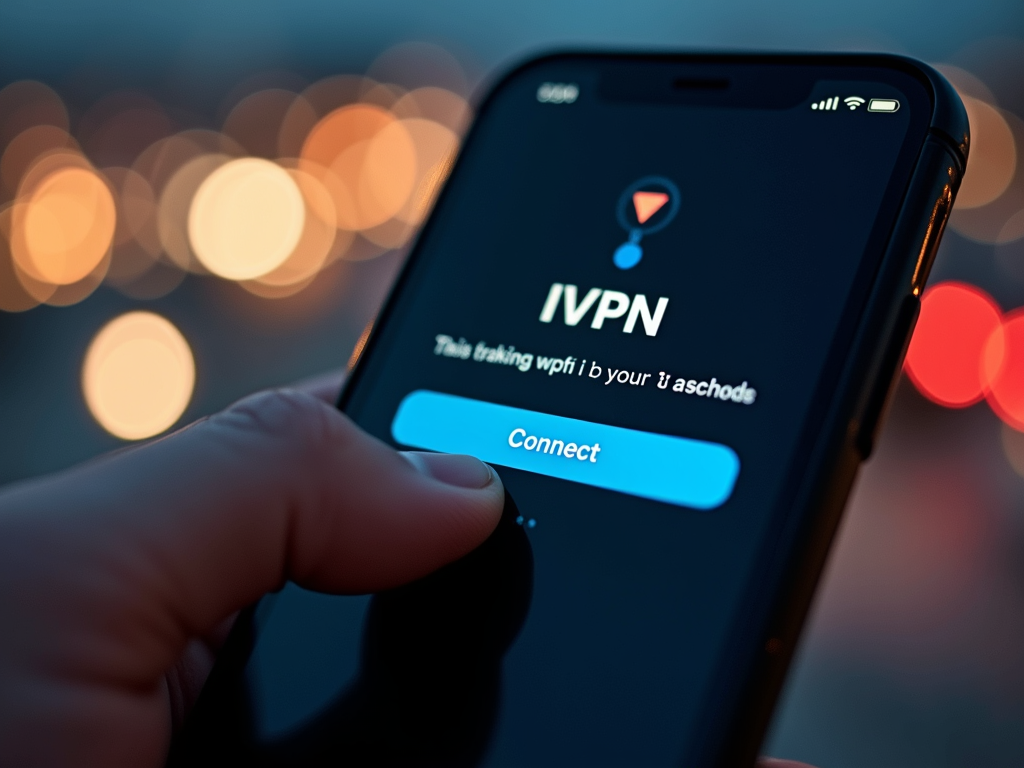
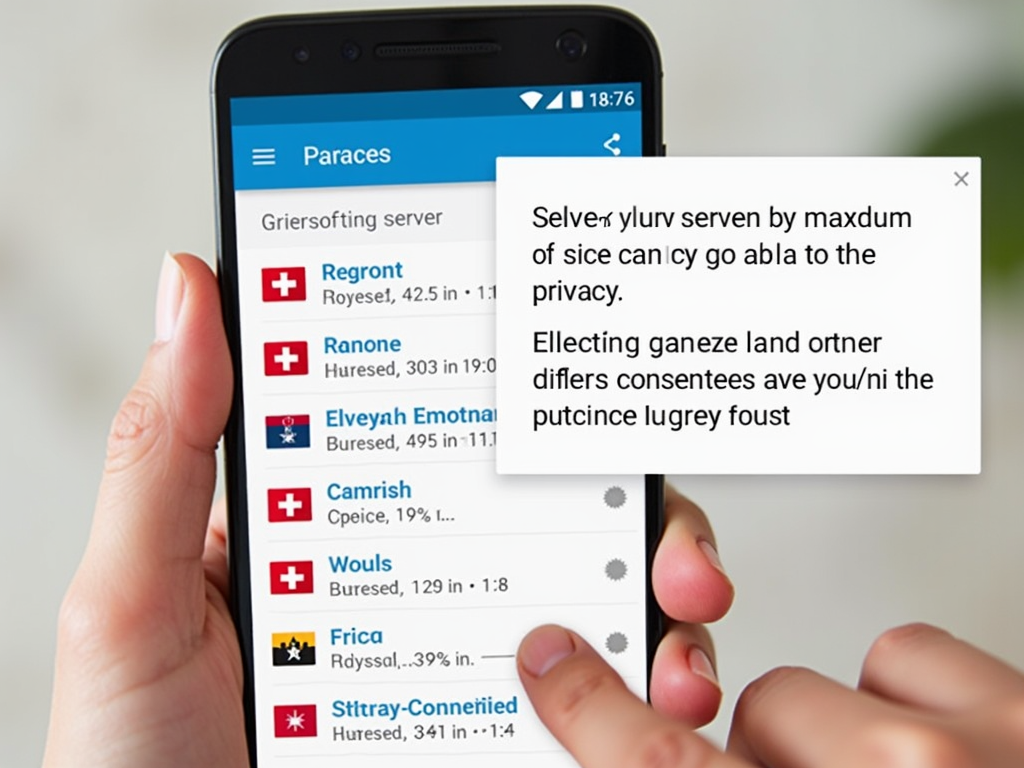
Connect to a Server
- Select a server location from the list provided.
- For maximum privacy, choose a server in a privacy-friendly jurisdiction.
-
Tap "Connect" to establish the VPN connection.
-
Verify Your Connection
- Once connected, check your IP address to ensure it's masked.
- You can use online tools like WhatIsMyIP to verify your IP address.
Tips for Maximizing Privacy with IVPN
- Use Multi-Hop Connections: Route your traffic through multiple servers to make it harder for anyone to trace your online activities.
- Enable the AntiTracker: IVPN's AntiTracker feature blocks ads, trackers, and malware, further enhancing your privacy.
- Regularly Update the App: Keep the IVPN app updated to benefit from the latest security features and improvements.
- Avoid Public Wi-Fi Without VPN: Always connect to IVPN before using public Wi-Fi networks to protect your data from potential threats.
Common Issues and Troubleshooting
While IVPN is generally reliable, you might encounter some issues. Here are solutions to common problems:
- Connection Drops: If your VPN connection drops frequently, try switching to a different server or protocol.
- Slow Speeds: Slow VPN speeds can be due to server load. Try connecting to a less crowded server.
- App Crashes: If the app crashes, ensure your device meets the app's requirements and that you have the latest version installed.

Conclusion
Configuring IVPN on your Android device is a straightforward process that can significantly enhance your online privacy. By following the steps outlined in this guide, you can ensure that your personal information remains secure while browsing the internet. Remember to use the additional features like the Kill Switch and Multi-Hop connections for maximum protection. Stay safe and enjoy your private online experience!