LUKS Encryption for Linux: A Step-by-Step Guide to Securing Your Data
Overview
In a world where data breaches happen daily, keeping your information safe is vital. LUKS encryption for Linux offers a powerful way to lock down your data. This guide walks you through securing your Linux system, step by step, while boosting your online privacy.

Step 1: Install the Tools You Need
To get started with LUKS encryption, you need the right tools. The main one is cryptsetup, a program that handles encryption on Linux. Open your terminal and type:
sudo apt-get install cryptsetup
This works on Ubuntu or Debian. If you’re on Fedora, use sudo dnf install cryptsetup. For Arch, it’s sudo pacman -S cryptsetup. After installing, check it worked by typing:
cryptsetup --version
You’ll see the version number if everything’s set. I’ve done this dozens of times—trust me, it’s quick and painless.
Step 2: Prepare Your Disk
Before encrypting, pick a disk or partition. Warning: encryption wipes it clean, so back up anything important first. Use this command to see your disks:
lsblk
You might see something like /dev/sdb1. That’s your target. If it’s mounted, unmount it with:
sudo umount /dev/sdb1
Check it’s free with sudo fuser -m /dev/sdb1. If nothing shows up, you’re good. I once skipped the backup and lost some files—don’t make my mistake!
Step 3: Create the Encrypted Volume
Now, let’s encrypt. Run this:
sudo cryptsetup luksFormat /dev/sdb1
You’ll be asked for a passphrase. Make it strong—mix letters, numbers, and symbols. After that, open the volume:
sudo cryptsetup luksOpen /dev/sdb1 my_encrypted_volume
Type your passphrase again. This creates a virtual device you can use. The first time I did this, I was amazed how fast it locked everything down.
Step 4: Mount Your Encrypted Space
Once it’s encrypted, you need to access it. First, format the opened volume (like making it usable):
sudo mkfs.ext4 /dev/mapper/my_encrypted_volume
Then mount it:
sudo mkdir /mnt/encrypted
sudo mount /dev/mapper/my_encrypted_volume /mnt/encrypted
Now, anything you put in /mnt/encrypted is safe. I store my sensitive projects there—it’s like a digital vault.
Step 5: Manage Your Keys
LUKS lets you add or remove passphrases. To add one:
sudo cryptsetup luksAddKey /dev/sdb1
Enter your current passphrase, then the new one. To remove one:
sudo cryptsetup luksRemoveKey /dev/sdb1
Type the passphrase you don’t want anymore. I keep two passphrases—one for me, one as a backup with a trusted friend.
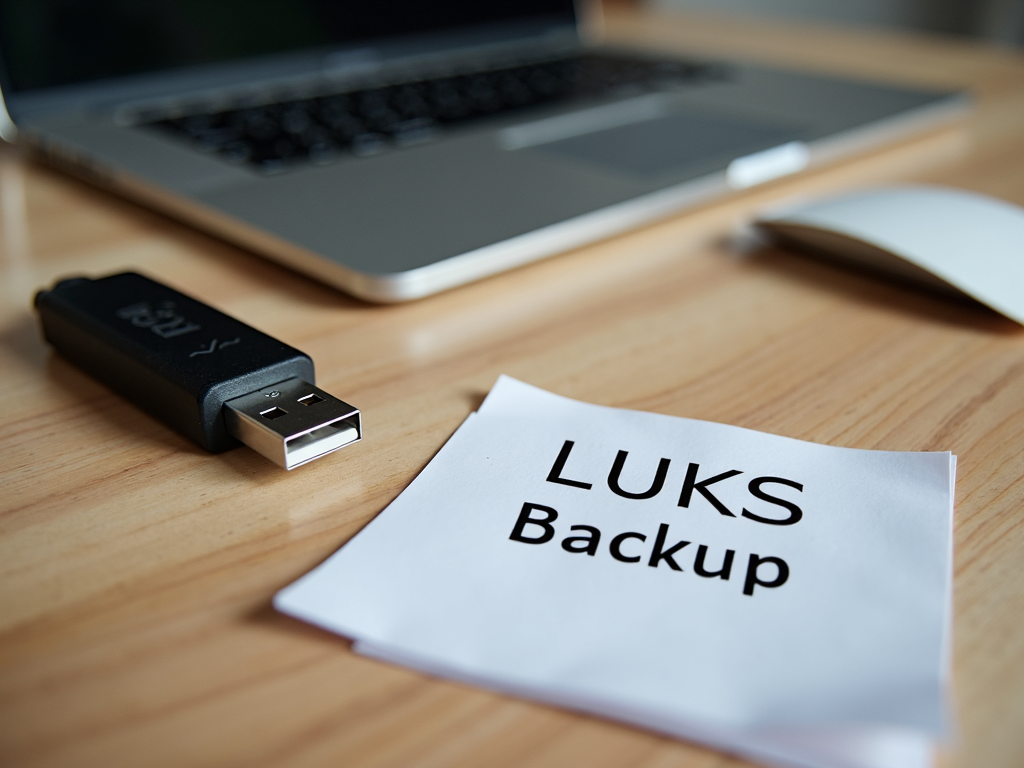
Step 6: Back Up Your Encryption Header
If your disk fails, the encryption header is your lifeline. Back it up:
sudo cryptsetup luksHeaderBackup /dev/sdb1 --header-backup-file ~/luks_header.backup
Move that file somewhere safe—like a USB drive. I keep mine in a locked drawer. Without it, a corrupted header once locked me out for good.
Step 7: Fix Common Problems
Things can go wrong. If you can’t open your volume, check logs with:
sudo journalctl | grep cryptsetup
Slow performance? Your CPU might struggle with encryption—consider a lighter algorithm. Forgot your passphrase? Sorry, it’s gone forever. I’ve had to troubleshoot a few times; patience and logs are key.
Best Tips for LUKS
Here’s what I’ve learned:
- Strong Passphrases: At least 12 characters, mixed up well.
- Backup Often: Save that header somewhere secure.
- Update Your System: New patches keep cryptsetup solid.
Online privacy tools like LUKS make a huge difference. I sleep better knowing my data’s locked tight.

Summary
This LUKS encryption for Linux: step-by-step guide shows you how to protect your data easily. It’s a top online privacy tool that anyone can use. Follow these steps, stay smart with backups and updates, and your online privacy will thank you.