How to Remove Your Personal Information from the Internet: A Step-by-Step Guide
Overview
In today’s digital world, your personal information—like your name, address, or phone number—can end up on websites you’ve never even visited. Data brokers and people-search sites collect and sell this information, putting your privacy at risk. This guide will walk you through practical steps to take control of your online presence, including how to remove your personal information from the internet, shrink your digital footprint, and stay safe on public Wi-Fi.
Why Your Online Privacy Matters
A few years ago, I searched my name on Google and was shocked to find my home address and phone number on a people-search site. It felt like a violation—like anyone could find me with a single click. That’s when I realized how much of my personal data was floating around online, exposed to scammers, marketers, or worse. Your digital footprint grows with every social media post, online purchase, or form you fill out. Reducing it isn’t just about peace of mind; it’s about protecting yourself from identity theft, phishing scams, and unwanted spam. According to a 2023 report from the Pew Research Center, 64% of Americans have experienced some form of data breach or privacy invasion. The good news? You can take action to reclaim your privacy.
Step 1: Understand Your Digital Footprint
Your digital footprint is the trail of data you leave online. It includes social media profiles, old accounts, public records, and data collected by websites. To shrink your digital footprint, start by auditing what’s out there. Search your name in quotation marks (e.g., “Jane Doe”) on Google, Bing, or DuckDuckGo. Include your city or state if your name is common. Check people-search sites like Spokeo, Whitepages, or MyLife. These sites often list sensitive details like your address or relatives’ names. Make a list of every site where your information appears—this is your starting point.

Step 2: Manually Remove Your Data from People-Search Sites
Many people-search sites allow you to opt out, but the process can be tedious. Visit each site’s privacy or opt-out page—usually found in the FAQ or footer section. You’ll often need to provide the exact URL of your profile and verify your identity with details like your email or phone number. For example, Whitepages requires you to submit an opt-out form with your listing’s URL. Be patient; some sites take weeks to process requests, and you may need to repeat the process every few months, as data can reappear. The Privacy Rights Clearinghouse offers a comprehensive list of data brokers and opt-out instructions, which can streamline this step. Privacy Rights Clearinghouse Data Broker List
Step 3: Use Online Privacy Tools Like Incogni
Manually opting out of hundreds of sites is time-consuming, so I turned to a data removal service called Incogni. Here’s how to set up Incogni to delete personal data: First, visit their website and sign up for a plan. You’ll need to provide your name, email, and current or past addresses to help Incogni match your data on broker sites. Next, sign their online authorization form, which allows them to send opt-out requests on your behalf. Once set up, Incogni scans over 420 data broker sites and automatically submits removal requests. They send regular progress reports, so you can track how many requests are completed. In my experience, Incogni saved me hours of work, and within weeks, my data was removed from dozens of sites. Their service also resends requests every 60-90 days to prevent your data from reappearing. Incogni Data Removal Service
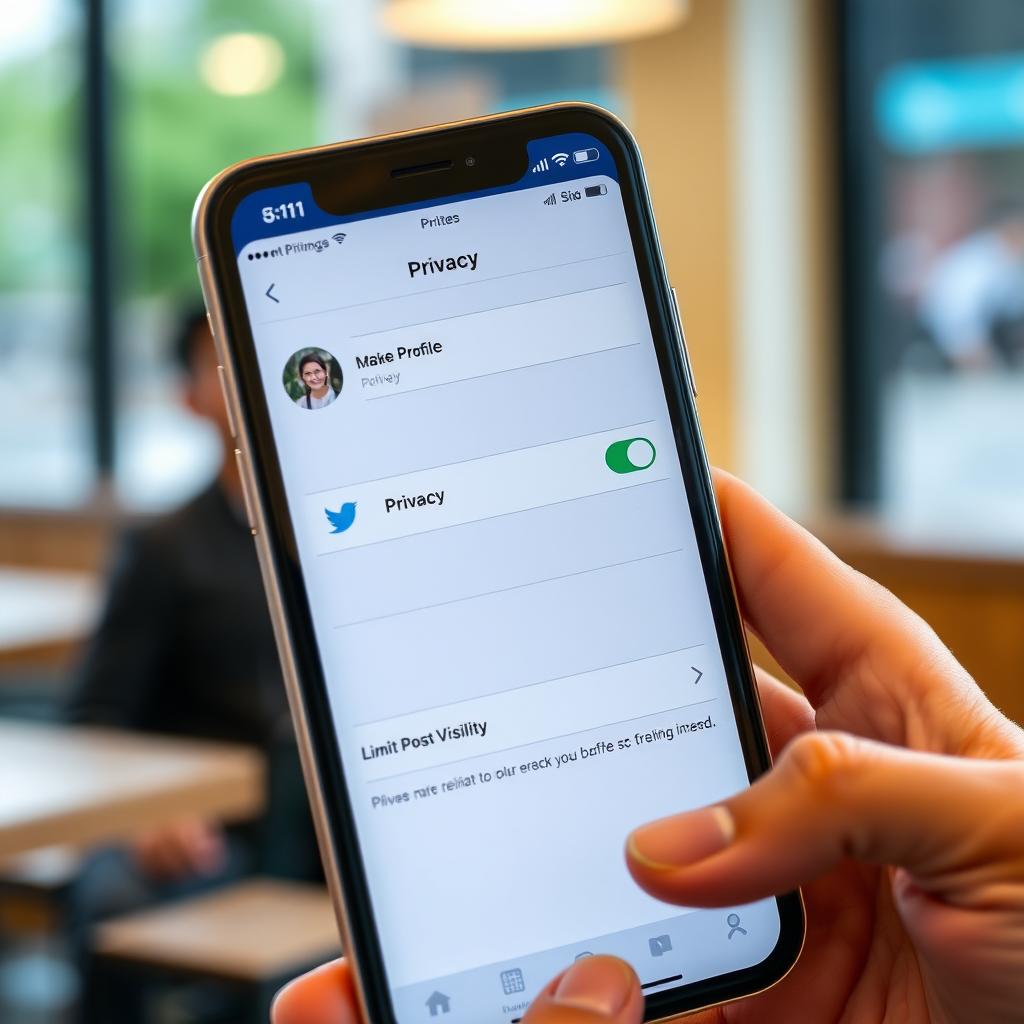
Step 4: Secure Your Social Media Accounts
Social media is a major source of personal data leaks. I once posted a photo of my new apartment, not realizing the address was visible in the background. To avoid this, review your privacy settings on platforms like Facebook, Instagram, and X. Set your profiles to private, limit who can see your posts, and avoid sharing sensitive details like your phone number or location. Delete old posts that reveal too much, and deactivate unused accounts. For example, to delete an X account, go to Settings > Your Account > Deactivate Account. The Federal Trade Commission provides tips on securing social media accounts to minimize your exposure. FTC Social Media Privacy Tips
Step 5: Remove Information from Search Engines
Even after opting out of data broker sites, your information might still appear in search engine results. Google allows you to request the removal of sensitive data, like your phone number or address, if it poses a risk of identity theft or fraud. Fill out Google’s “Remove Personal Information” form, providing the URL of the page you want removed. Be specific about why the content is harmful. Google reviews requests within days but may not remove everything, as they only delist pages from search results—not the original site. For persistent issues, contact the site’s webmaster directly. Google Remove Personal Information Form
Step 6: Stay Safe on Public Wi-Fi
Public Wi-Fi, like at coffee shops or airports, is convenient but risky. Hackers can intercept your data on unsecured networks, exposing passwords or credit card details. To stay safe on public Wi-Fi, always use a virtual private network (VPN). A VPN encrypts your connection, making it harder for others to snoop. I use a VPN whenever I’m on public Wi-Fi, and it’s saved me from potential data leaks. Also, avoid accessing sensitive accounts, like banking, on public networks. Turn off auto-connect features on your phone to prevent joining untrusted networks. The Cybersecurity and Infrastructure Security Agency (CISA) offers practical advice on safe Wi-Fi use. CISA Public Wi-Fi Safety Tips
Step 7: Maintain Ongoing Privacy
Removing your data is not a one-time task. Data brokers can reacquire your information, so regular monitoring is key. Set up Google Alerts for your name to get notified when new information appears online. Use a password manager to create strong, unique passwords for all accounts, and enable two-factor authentication (2FA) for extra security. I also recommend checking your email for old accounts you’ve forgotten about—delete or secure them. Services like Incogni can automate ongoing data removal, but you should also review your privacy settings monthly. The more proactive you are, the smaller your digital footprint becomes.

Additional Tips to Shrink Your Digital Footprint
Here are a few more ways to protect your privacy:
- Use a P.O. Box: For mail and shipments, use a P.O. Box or CMRA to avoid sharing your home address.
- Limit App Permissions: Review app permissions and disable access to unnecessary data, like your location or contacts.
- Opt Out of Marketing: Visit sites like DMAchoice.org to reduce targeted ads and junk mail.
- Use Privacy-Focused Browsers: Browsers like Brave or DuckDuckGo’s privacy tools block trackers and ads by default.
These small changes add up, making it harder for data brokers to collect your information.
Summary
Removing your personal information from the internet takes effort, but it’s worth it to protect your privacy. Start by auditing your digital footprint, manually opting out of people-search sites, and using tools like Incogni for automation. Secure your social media, stay safe on public Wi-Fi with a VPN, and monitor your data regularly. By following these steps, you can shrink your digital footprint and reduce your risk of scams or identity theft. Take control of your online presence today!