How to Use Mullvad's DNS over VPN for Enhanced Online Privacy
Overview
Your online activity isn’t as private as you might think. Every website you visit starts with a DNS request, and without protection, anyone can see it—your internet provider, hackers, or even advertisers. Mullvad’s DNS over VPN changes that. This guide shows you how to use it to boost your online privacy with simple, effective steps.
What Is Mullvad’s DNS over VPN?
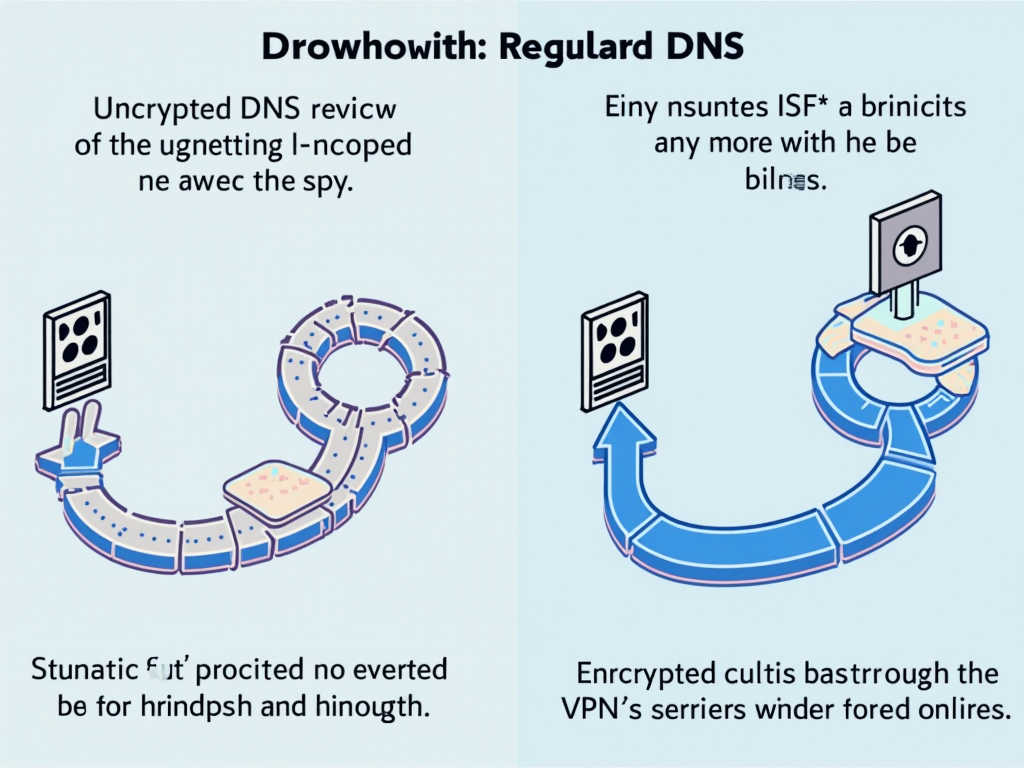
Let’s start with the basics. DNS, or Domain Name System, turns website names (like google.com) into numbers your device can understand. Normally, these requests are unencrypted, meaning anyone on your network can peek at what you’re doing. Mullvad, a privacy-first VPN, fixes this by encrypting those requests with DNS over HTTPS or DNS over TLS. Pair that with their VPN, and your entire online presence gets a privacy upgrade.
I’ve used VPNs for years, and Mullvad stands out because it doesn’t just hide your location—it tackles DNS tracking too. That’s a big deal if you’re tired of companies building profiles about you based on every click.
Step 1: Setting Up Mullvad VPN on Your Device
Before you can use Mullvad’s DNS features, you need their VPN running. Here’s how to get started:
- Sign Up: Visit Mullvad’s website and create an account. No email needed—just an account number. I love that they even accept cash for total anonymity.
- Download the App: Grab the app for your device—Windows, macOS, Linux, iOS, or Android all work.
- Install and Log In: Open the app, punch in your account number, and you’re in.
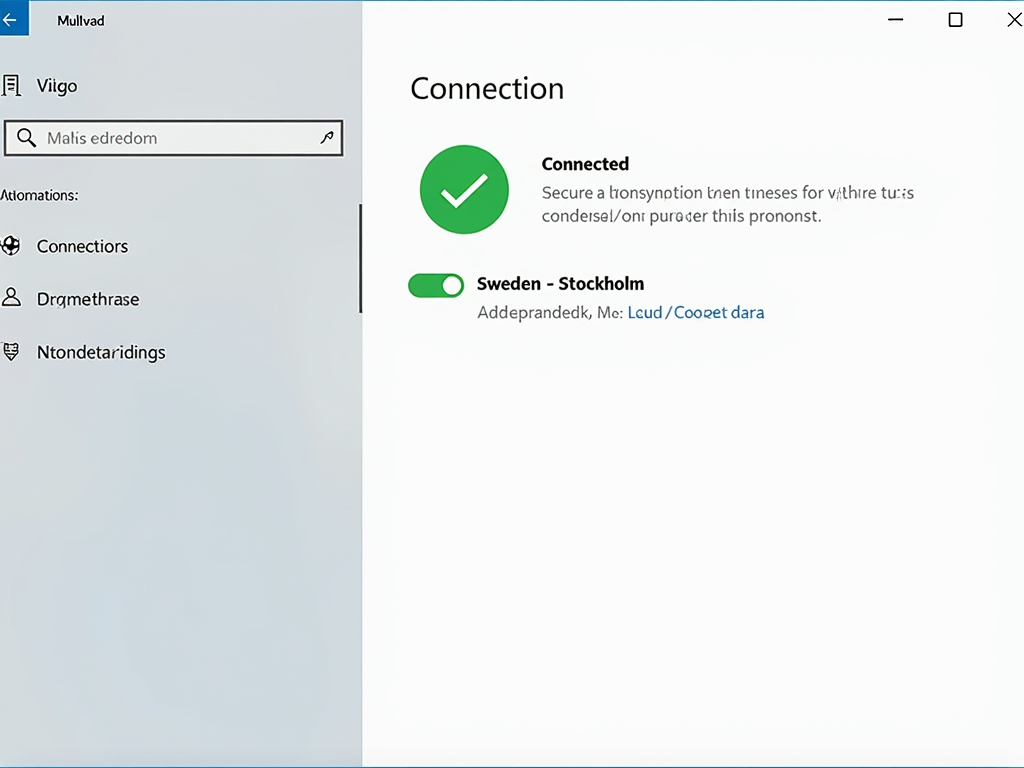
- Connect: Pick a server (closer is faster) and hit connect. Done!
The first time I set it up, it took me less than five minutes. The app’s design is so simple that even my non-techy friends could figure it out.
Step 2: Configuring DNS Over HTTPS or TLS
Now, let’s lock down those DNS requests. Mullvad offers two options: DNS over HTTPS (DoH) and DNS over TLS (DoT). Both encrypt your requests, but DoH blends them into regular web traffic, while DoT uses a separate secure channel. Here’s how to set them up:
For DNS over HTTPS (DoH): - Open the Mullvad app. - Go to Settings > Advanced > DNS. - Flip the DoH switch on. That’s it—Mullvad handles the rest with its own servers.
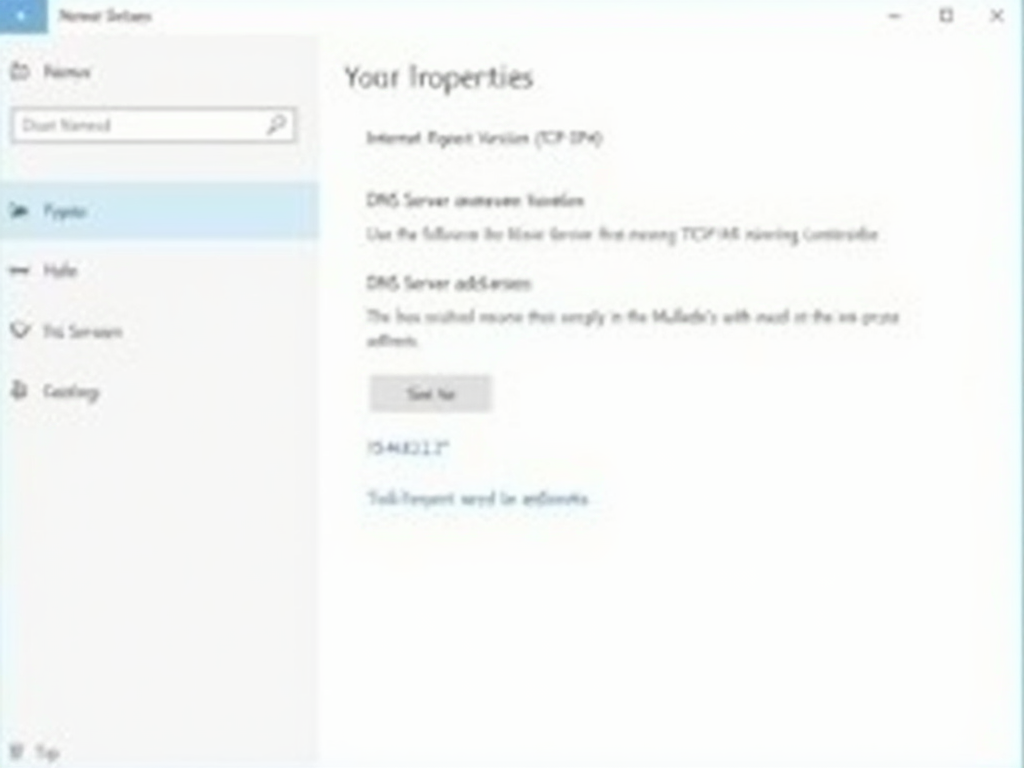
For DNS over TLS (DoT): - This one’s a bit manual. On Windows, go to Network Settings > Change adapter options > Right-click your connection > Properties > IPv4 > Set DNS to something like 194.242.2.2 (check Mullvad’s site for the latest). - On Android, head to Settings > Network > Private DNS, and add Mullvad’s DoT hostname.
I prefer DoH because it’s a one-click setup in the app, but DoT works great if you want more control. Either way, your DNS is now hidden from prying eyes.
Step 3: Verifying It Works
You’ve set it up—now let’s make sure it’s working. Here’s what I do:
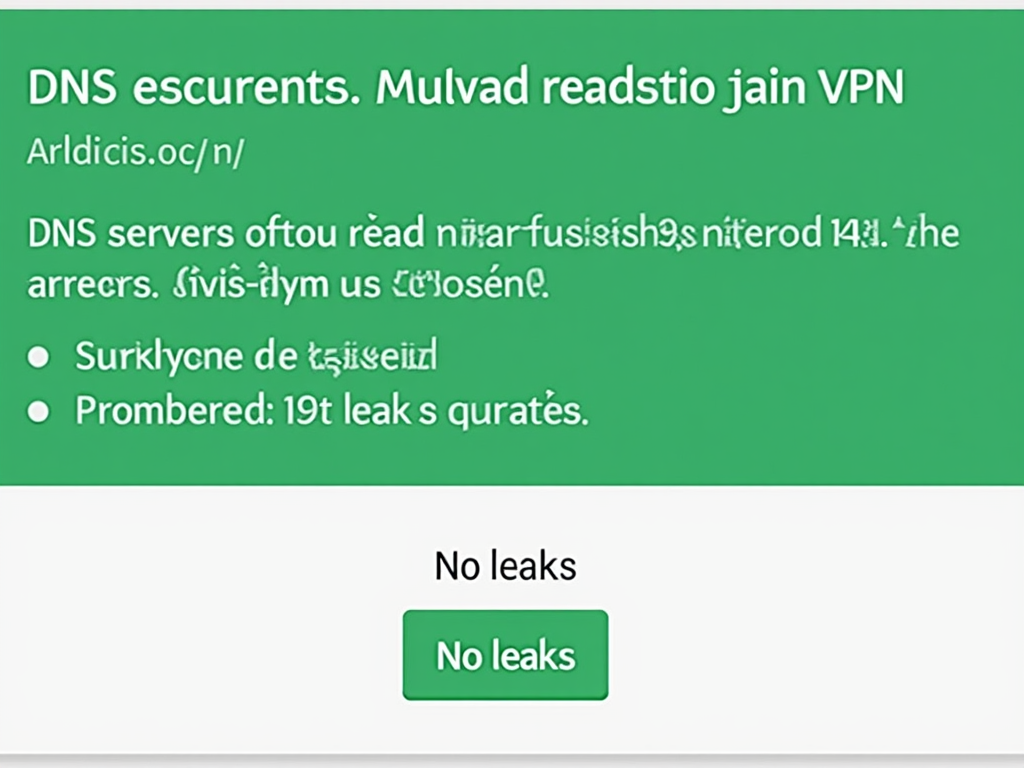
- Run a Leak Test: Go to dnsleaktest.com. If it shows Mullvad’s servers, you’re golden. If your ISP pops up, double-check your settings.
- Check Encryption: On a computer, open a terminal and type
dig +tls @194.242.2.2 example.com. If you get an answer, DoT is active. - Watch the App: Keep the VPN connected. If it drops, your DNS might leak.
The first time I ran a leak test, I was amazed at how much my ISP knew before I started using this. Now, it’s all Mullvad servers—no trace of my provider.
Why It Matters: Benefits of Mullvad’s DNS Over VPN
So, why bother? Here’s what you get:
- Better Privacy: Your ISP can’t see your website visits anymore.
- Stronger Security: Encryption stops hackers from faking DNS responses.
- Easy to Use: DoH is built into the app—no extra cost or hassle.
There’s a tiny speed dip sometimes, but I barely notice it. For me, the peace of mind is worth it.
Compare that to basic VPNs without encrypted DNS—your location might be hidden, but your browsing habits aren’t. Mullvad’s approach feels like a full shield.

Extra Tips for Online Privacy Tools
Mullvad’s DNS over VPN is awesome, but I’ve learned a few tricks to make it even better:
- Switch Browsers: Use Firefox or Brave—they’re built for privacy.
- Block Ads: Turn on Mullvad’s ad-blocker in the app.
- Fix WebRTC: It can leak your IP. Mullvad’s site has a guide to turn it off.
- Update Everything: New software patches security holes.
I started doing these after a friend showed me how much data my old browser was leaking. Now, I feel like I’m actually in control online.

Summary
Protecting your online privacy doesn’t have to be hard. With Mullvad’s DNS over VPN, you can hide your DNS requests and keep your browsing private. Set up the VPN, turn on DoH or DoT, and check for leaks—it’s that simple. Add a few extra habits, and you’ve got a solid defense against trackers and snoopers. Ready to take back your privacy?