How to Use Mullvad's DNS over VPN for Better Online Privacy
Quick Overview
Protecting your online privacy starts with secure DNS handling. Mullvad VPN routes your DNS queries through its encrypted tunnel, preventing leaks to your ISP. This guide shows you how to use Mullvad's DNS over VPN effectively – a key tool among online privacy tools.
Online privacy matters more than ever. Every time you visit a website, your device sends DNS queries to translate domain names into IP addresses. Without protection, your ISP sees everything you do online.
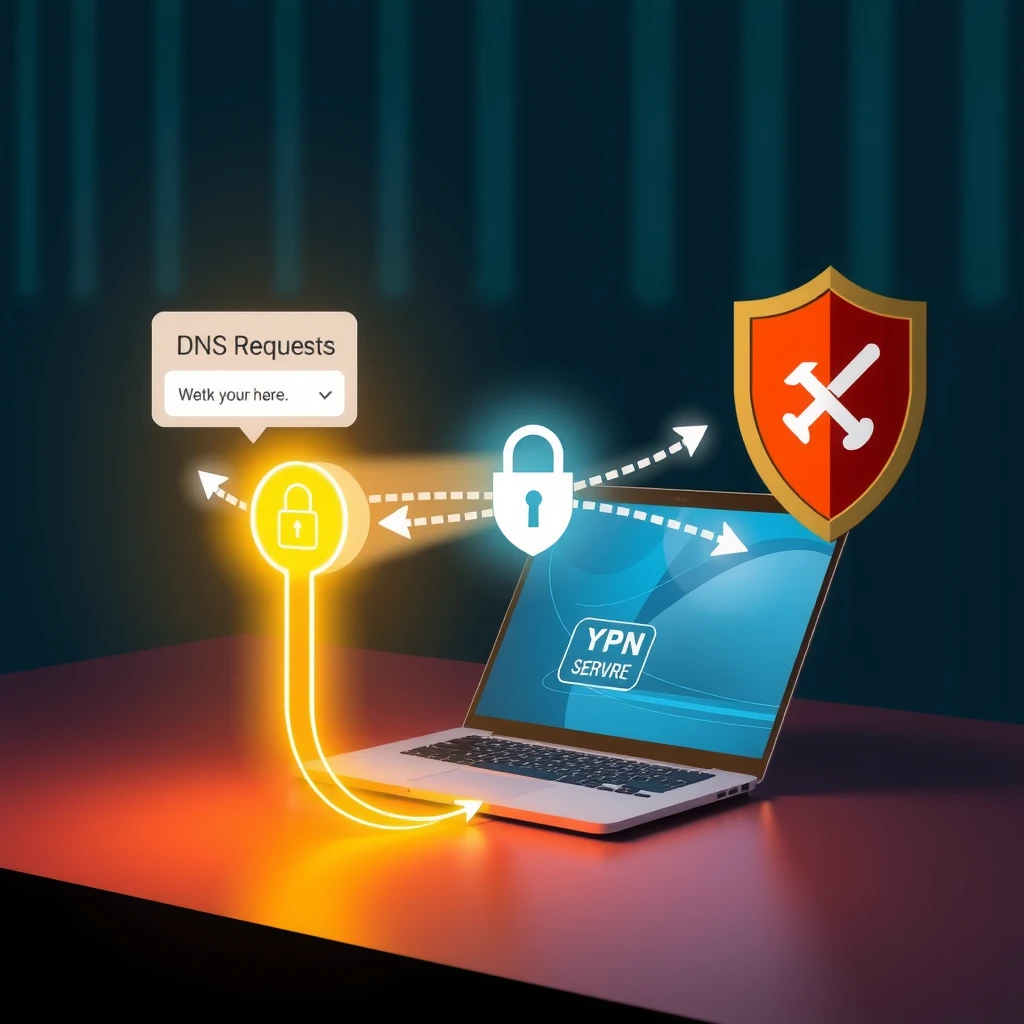
That's where VPNs like Mullvad shine. When connected, Mullvad automatically routes DNS queries through the VPN tunnel to its own servers. This stops DNS leaks – a common issue where queries bypass the VPN and reveal your activity.
I've used Mullvad for years, and its built-in DNS leak protection gives me peace of mind. No need to configure extra settings most of the time. Just connect, and you're protected.
Why DNS Privacy is Crucial
Unencrypted DNS queries expose your browsing habits. As explained by the Electronic Frontier Foundation on encrypted DNS benefits, encrypting DNS closes a major privacy gap, preventing eavesdropping and censorship.
Cloudflare also highlights how traditional DNS lacks privacy, enabling surveillance. Routing DNS over VPN adds encryption and hides your queries from snoopers.
How Mullvad Handles DNS by Default
Mullvad's app prevents DNS leaks out of the box. When you connect to a VPN server, all DNS queries go to Mullvad's DNS resolvers inside the tunnel.
Visit Mullvad's connection check page after connecting – it should show no leaks, with DNS servers named like 'se-mma-dns-001.mullvad.net'.
This setup is faster and more secure than external options while connected.
In my experience, this default behavior blocked potential leaks during travel on public Wi-Fi. No extra steps needed.
Step-by-Step: Using Mullvad VPN App
- Download and install the Mullvad app from their official site.
- Log in with your account number.
- Click 'Connect' – the app chooses the best server.
- Go to Settings > VPN settings > Enable 'Block connections without VPN' for full leak protection.
That's it! Your DNS now routes securely over the VPN.

Advanced Options: Content Blocking
Mullvad offers built-in DNS blocking for ads, trackers, malware, and more.
In the app: - Go to Settings > VPN settings > DNS content blocking. - Choose levels like 'Standard' (ads + trackers) or 'Strict'.
These use Mullvad's blocklists, applied via tunnel DNS.
I enable this for cleaner browsing without browser extensions.
| Blocking Level | What It Blocks |
|---|---|
| None | No blocking |
| Standard | Ads, trackers, malware |
| Strict | Above + adult content, gambling |
Test changes at mullvad.net/check.
When Not Connected: Mullvad's Encrypted DNS
Mullvad provides public DoH/DoT servers for use without VPN.
As noted in their guide, use encrypted DNS when disconnected for privacy.
But while VPN-connected, stick to tunnel DNS – it's faster.
Mozilla supports secure DNS for better privacy.
Testing for Leaks
Always verify: - Use https://mullvad.net/check - Or third-party tools like dnsleaktest.com
If leaks appear, disable browser DoH (e.g., in Firefox) or custom DNS.
From personal tests, Mullvad consistently passes with defaults enabled.
Common Issues and Fixes
- Browser DoH override: Disable in Firefox/Chrome settings.
- Custom DNS: Avoid unless needed; it can cause leaks.
- Android Private DNS: Turn off when using Mullvad app.
Mullvad's kill switch blocks traffic if the tunnel drops, preventing leaks.
Combining Mullvad's DNS over VPN with good habits – like avoiding public Wi-Fi without protection – builds strong online privacy.
Final Thoughts
Mullvad makes DNS over VPN simple and effective. It protects your queries automatically, boosting privacy without complexity.
Start using it today for safer browsing. Pair with other online privacy tools for full protection.