Step-by-Step Guide to Data Protection: Safeguard Your Online Privacy in 2024
Overview
In today’s digital age, protecting your personal information is more critical than ever. With cyber threats like data breaches and identity theft on the rise, a Step-by-Step Guide to Data Protection can empower you to take control of your online privacy. This article offers practical steps, insights from my own experiences, and the Top Online Privacy Tools for 2024, including how to set up Incogni to delete personal data. Let’s dive into securing your digital life!
Why Data Protection Matters
Every time you browse the internet, shop online, or post on social media, you leave a digital footprint. Companies, hackers, and even governments can track this data, often without your consent. I learned this the hard way when I noticed targeted ads following me across websites after a single search. It felt invasive, and it made me realize how much of my personal information was out there. Data protection isn’t just about avoiding ads—it’s about preventing identity theft, financial loss, and cyberstalking.
According to a 2023 Pew Research survey, 81% of Americans worry about how companies use their data. That’s a wake-up call. By following this guide, you can minimize your exposure and regain control. Let’s break it down into actionable steps.

Step 1: Limit What You Share Online
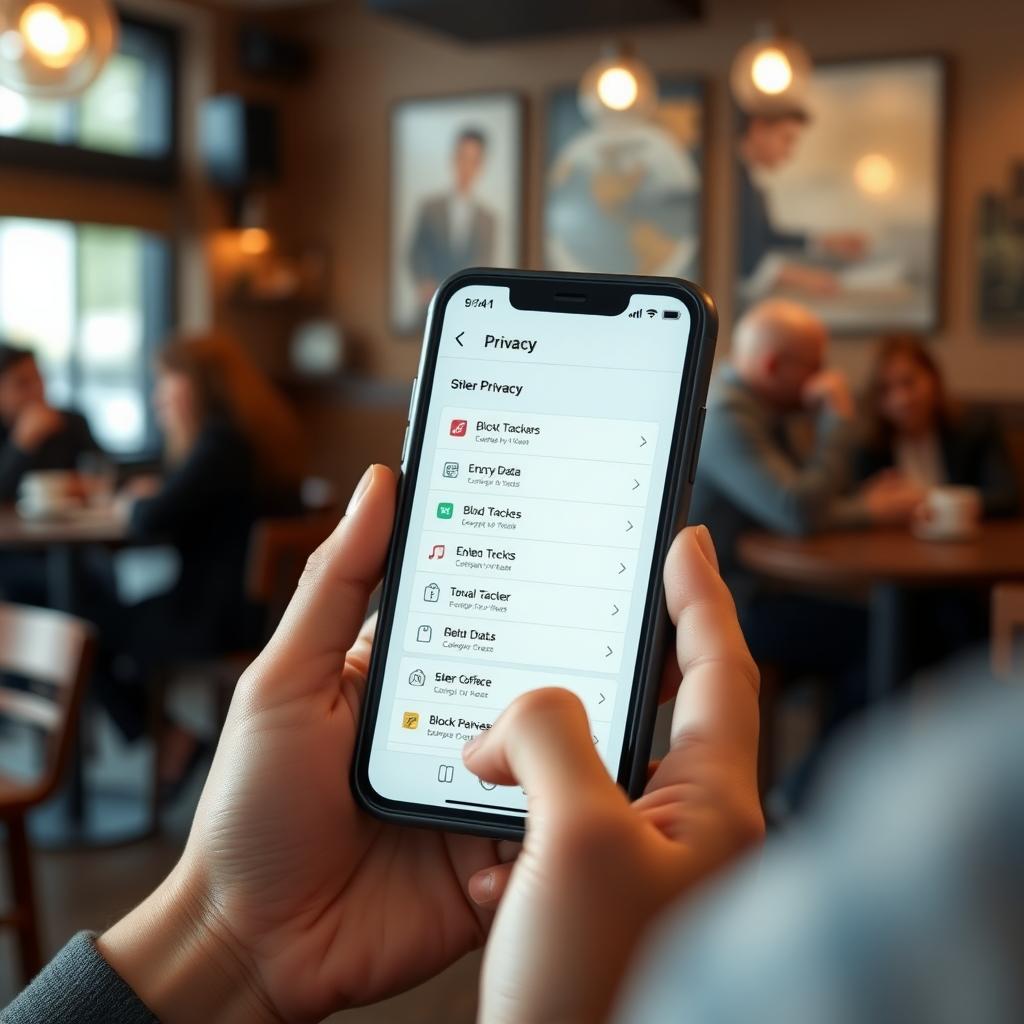
The first step in data protection is controlling what you share. Social media platforms like Instagram or LinkedIn encourage you to post personal details—your location, birthday, or even your favorite coffee shop. But oversharing can expose you to risks. I once posted a photo with a geotag, and a stranger messaged me about it. That was enough to make me rethink my habits.
- Actionable Tips:
- Set your social media profiles to private.
- Avoid sharing sensitive details like your address or phone number.
- Use nicknames instead of real names where possible.
Review privacy settings on platforms like Facebook or TikTok. Most offer guides to make your accounts private, which reduces who can see your posts.
Step 2: Remove Existing Data
Even if you stop sharing today, your past data might still be floating around. Data brokers collect and sell information like your name, email, and even purchase history. Services like Incogni can help remove your data from these brokers. Here’s how to set up Incogni to delete personal data:
- Sign Up: Visit Incogni’s website and create an account.
- Provide Details: Enter basic information like your name and email to allow Incogni to search for your data.
- Authorize Removal: Incogni sends opt-out requests to data brokers on your behalf.
- Track Progress: Use the Incogni dashboard to monitor which brokers have removed your data.
I tried Incogni last year and was shocked to see my info on over 50 data broker sites. Within weeks, most had removed my details, and I noticed fewer spam calls.
Step 3: Use Privacy-Focused Tools
The Top Online Privacy Tools for 2024 can make a huge difference. Here are my favorites based on personal use:
| Tool | Purpose | Why I Recommend It |
|---|---|---|
| ProtonMail | Secure Email | End-to-end encryption keeps your emails private. |
| Brave Browser | Private Browsing | Blocks trackers and ads by default, speeding up browsing. |
| NordVPN | VPN | Encrypts your internet connection, especially on public Wi-Fi. |
| 1Password | Password Manager | Generates and stores complex passwords securely. |
These online privacy tools are user-friendly and effective. For example, switching to Brave from Chrome cut down on annoying ads and made me feel more in control of my browsing.
Step 4: Enable Two-Factor Authentication (2FA)
Two-factor authentication adds an extra layer of security. Even if someone gets your password, they can’t access your account without a second verification step, like a code sent to your phone. I enable 2FA on every account that offers it—email, banking, even social media. It’s a small step that makes a big difference.
- How to Enable 2FA:
- Go to the security settings of your account.
- Choose an authentication method (e.g., SMS, authenticator app like Google Authenticator).
- Follow prompts to link your device.
Pro tip: Use an authenticator app instead of SMS for better security, as texts can be intercepted.
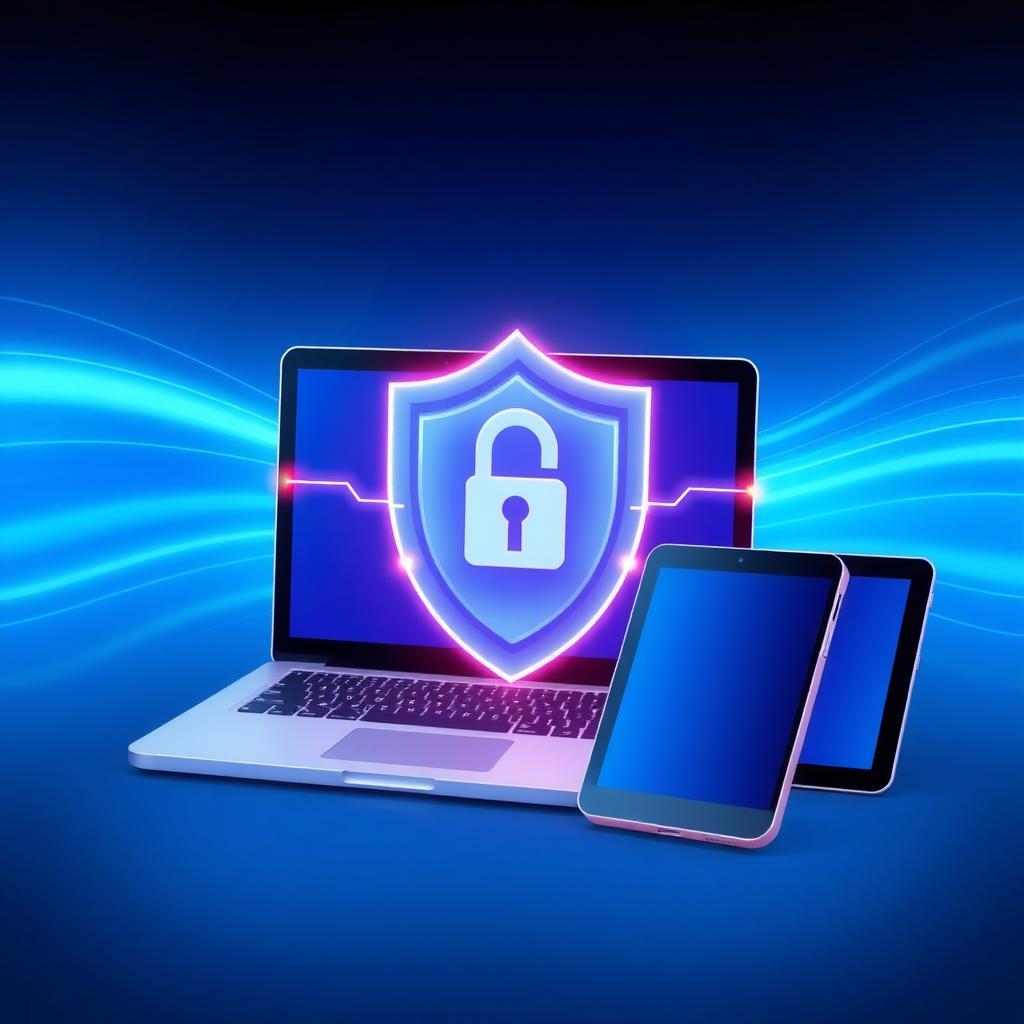
Step 5: Secure Your Devices
Your devices are gateways to your data. If they’re not secure, neither is your information. I once left my laptop unlocked at a café, and someone could’ve easily accessed my files. Now, I’m meticulous about device security.
- Device Security Checklist:
- Install antivirus software like Bitdefender or Norton.
- Keep your operating system and apps updated to patch vulnerabilities.
- Use strong PINs or biometrics (like fingerprint or face ID) to lock devices.
Step 6: Be Cautious of Phishing Scams
Phishing emails trick you into sharing personal info by posing as trusted sources. I almost fell for one claiming to be from my bank, but the email address was slightly off. Always check for red flags:
- Suspicious email addresses (e.g., “[email protected]” instead of “[email protected]”).
- Urgent language like “Your account will be suspended!”
- Misspellings or odd formatting.
If in doubt, contact the company directly through their official website.
Step 7: Use Secure Connections
Public Wi-Fi is convenient but risky. Hackers can intercept data on unsecured networks. Always use a VPN like NordVPN or ExpressVPN when on public Wi-Fi. I use NordVPN when traveling, and it’s saved me from potential snooping at airports. Also, ensure websites use “https://” for secure connections, especially when entering sensitive information.
Step 8: Back Up Your Data
Regular backups protect your data from loss due to hacks or device failure. I back up my files to an encrypted external hard drive and a secure cloud service like Google Drive. Automate backups to make it hassle-free, and always encrypt sensitive files before storing them.
Step 9: Educate Yourself and Others
Staying informed is key to online privacy. Follow reputable cybersecurity blogs or newsletters. I also talk to my family about safe internet habits, especially my kids, who love sharing online. Teaching them to avoid oversharing or clicking suspicious links has made our household more secure.
Summary
Protecting your data doesn’t have to be overwhelming. By following this Step-by-Step Guide to Data Protection, you can significantly reduce your online risks. Start by limiting what you share, use tools like Incogni to remove existing data, and adopt online privacy tools like ProtonMail and NordVPN. Stay vigilant, keep learning, and take control of your digital footprint today.